Stamps, Inks, & Stamping Accessories on SALE!
Take 9% OFF orders $100 or more with code: SPRING
Take 9% OFF orders $100 or more with code: SPRING


 Give a Cheer
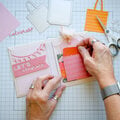
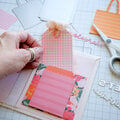
I gathered the papers I wanted to use for the bases and the frame from the Hello Pumpkin collection. I traced around the wood pieces, cut out and then glued the paper to the wood pieces.
After gluing and using a file to smooth out the edges, I inked the edges of the bases and frame using a brown ink.
Next, I used an exacto knife to cut the slits into the base and the inside of the scalloped frame. I have found that this is the easiest way to get a clean cut on the slits and make sure the wood is covered.
Next, I mixed a yellow and orange colored paint to get the right color orange and I painted the Blessed wood piece (the truck I used in a different project).
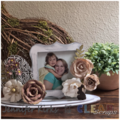
Using foam squares I attached the top portion of the frame to the bottom. Make sure you only add foam tape or squares to the bottom and sides so you are able to add a photo later or to switch out photos as needed or desired .
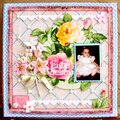
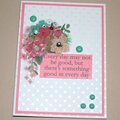
I glued the smaller base to the top of larger base. Make sure you line the slits up correctly, this is very important! Then I pulled some petals off of various flowers to create leaves to decorate the base of the frame. I gathered a few pinecones and pumpkins to decorate around the base of the frame.
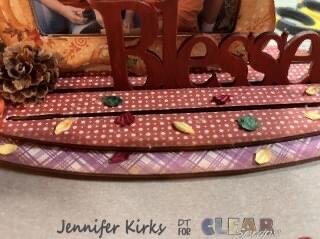
Finally I added a few leaves and flowers to the frame. I put the frame in the back slit and added the Blessed in the middle slit. I love how versatile these frames can be, you can add the frame or word or any other piece into the slots and arrange it how ever you prefer.
I love this picture of my mom and kids and the fun memories of pumpkin patch visits. I am truly Blessed to have these amazing people in my life! Hope you have a Blessed holiday!- Jennifer
No products have been added to this project.
Thanks for spreading positivity!


November 07, 2023