Happy National Scrapbook Day!
Extra 10% OFF Select Scrapbooking Brands with Code: NSD24
Extra 10% OFF Select Scrapbooking Brands with Code: NSD24
Be the first to cheer this project!

 Give a Cheer
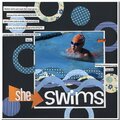
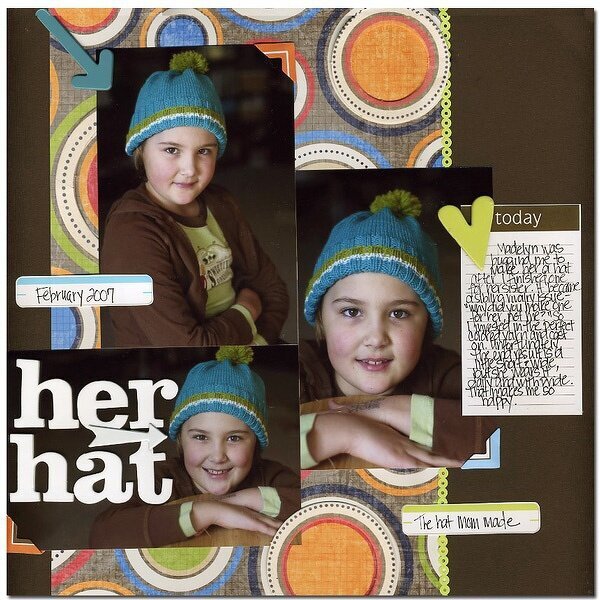
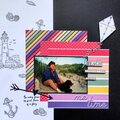
I love <a href="http://twopeasinabucket.kaboose.com/shop.asp?derMars=2300EC [twopeasinabucket.kaboose.com]“> Anne Langpap's digital kits. </a> Her colors just work so well with my pictures and I love their bright cheerful energy. <p>I've taken up knitting and my girls are at an age where they are still happy to wear my creations. So I'm milking it for all it's worth! <p><b> Supplies </b><br>Patterned paper from Anne Langpap's Free and Breezy Paper Pack (new this month) <br>Labels from <a href=”http://twopeasinabucket.kaboose.com/shop.asp?derMars=12A3FD [twopeasinabucket.kaboose.com]“> Anne Langpap's TroPEAcal bliss digital kit </a><br>Journaling block from <a href=”http://twopeasinabucket.kaboose.com/shop.asp?derMars=12BAAD [twopeasinabucket.kaboose.com]“> Kate Teague's Mark it Up digital kit </a><br>Doodlebug Frill <br>Around the Block shaped brads <br>Imagination Project raw white coasters <br>Heidi Swapp Photo Corners <br>American Crafts Foam Thicker Stickers <br>American Crafts Slick Writer pen <p><b> Directions </b><br>1. Open ”Colorful Circle Paper“ from the digital kit. Crop to 8x12” using the program's crop tool. Print (I used Epson Heavyweight Matte paper. It was originally 13x19“, so I trimmed it to 8.5 x 13 to fit my printer). <br>2. Layer over dark brown cardstock background. Add doodlebug frill along the right hand border. <br>3. Here's where I tried to get clever. I wanted to add some dimension to the paper, so I decided to print some of the circles on Imagination Project's raw white chipboard coasters. I did that by printing the paper again (I did it on a reduced ink setting), attaching the coasters with temporary adhesive, and running it through the printer again. I then detached the coasters and attached them to my page. In retrospect, this was a lot of work for very little effect. It would have been easier to get that same dimensional effect by printing the paper a second time, cutting out the circles I wanted to highlight, and then attaching them to the first paper with pop dots. Duh. <br>4. Arrange photos on page. Add title to bottom left photo. <br>5. Open the ”Today“ element from Kate Teague's Mark It Up kit. Resize to about 2.5 x 4.” Print and attach to right side of page. <br>6. Open labels from the TroPEAcal Bliss kit. Resize so that they are 3" long. Print, trim, and attach to page. <br>7. Journal on block and labels with black pen. <br>8. Attach brads.
No products have been added to this project.

Thanks for spreading positivity!