

Quick Look
Quick Look

Quick Look
Quick Look
Quick Look
Quick Look

Quick Look
Quick Look


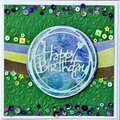
Cheers
Give a Cheer

 Give a Cheer
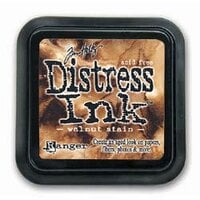
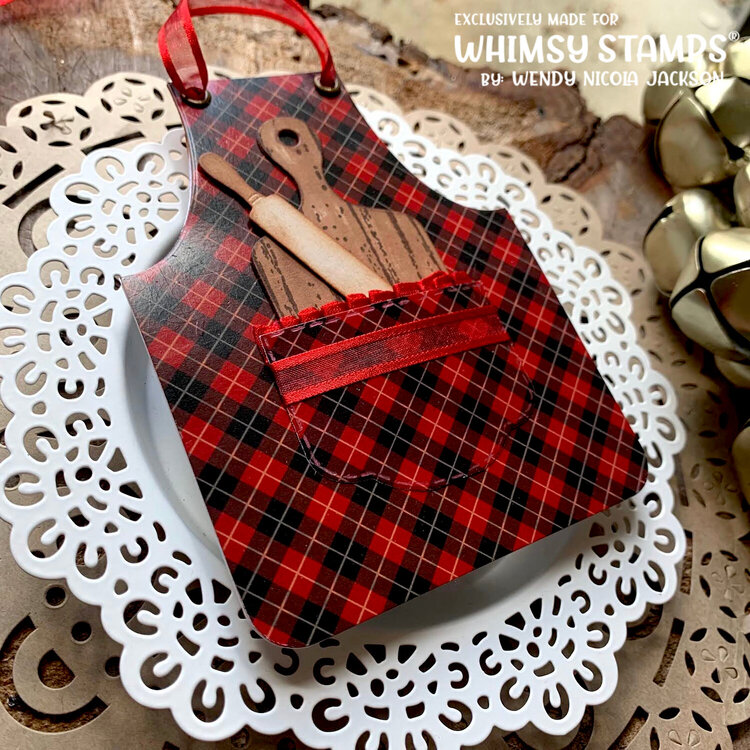
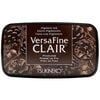
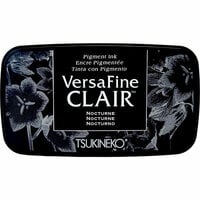
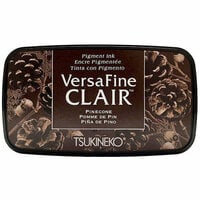
This was such a fun card to create and really very easy to create the Apron design. I had such fun making this. This card I created for a friend of my mum who loves cooking and baking and Mum was really delighted with it, she loved the tartan paper, which I too adore, so that was fabulous. I created this apron shaped card by first cutting the cardstock to A2 size, then I rounded the bottom corners with a wide corner rounder. My one is a really old one but any corner rounder with a wider angle will work. To create the armhole angles on the top of the card, I used an oval die from the A2 Antique Frames Die Set from Whimsy Stamps to cut away the section to make the apron top shape. I cut the first side and then used the offcut to line up the cut on the other side and ensure I had a mirrored finish. I punched a couple of holes to thread the ribbon through to be the top apron strings. I considered adding some for the side ties, but opted against that in the end, I think it's fine without. To create the cute pocket on the front of the apron or pinny as they say in the UK, I took the largest of the rounded style Antique ATC Frames Die Set to create the shape at the bottom. I did a partial diecut, so I could create the full pocket shape, so the top is square for the pocket opening, but the pocket base has a fun scalloped finish. I pleated a red organza ribbon with a satin trim to create the frill at the top of the pocket and added another strip just below the pocket top. This helped to define the pocket and make it visible, as I'd lined up the pattern so well, it was pretty much seamless and disappeared a bit! I also added some faux stitching with a metallic shine red pen which also accentuates the pocket edge better, but this shows up best in person, I couldn't get a great picture of this in the stills. But do swipe through the photos to get all the details inside and out. I used the fabulous Whimsy Baking Die Set, to diecut the breadboard and rolling pin from. I used Neenah Desert Storm for the front of the board and rolling pin and I inked the front of the breadboard and rolling pin with Walnut Stain Distress Ink and added detail with a Shiplap Background Stamp from Whimsy. I dragged the Walnut Stain inkpad across the breadboard diecut to create streaks imitating woodgrain, then added the detail with the Shiplap Background Stamp. I stamped fun sentiments on the reverse sides of the board and rolling pin which I cut from white cardstock and glued to the desert storm cardstock. I used VersaFine Clair Pinecone for these sentiments and VersaFine Clair Nocturne for the ones inside the card.


Thanks for spreading positivity!


January 19, 2024
January 19, 2024
January 12, 2024
January 08, 2024
January 08, 2024
January 06, 2024